Introduction
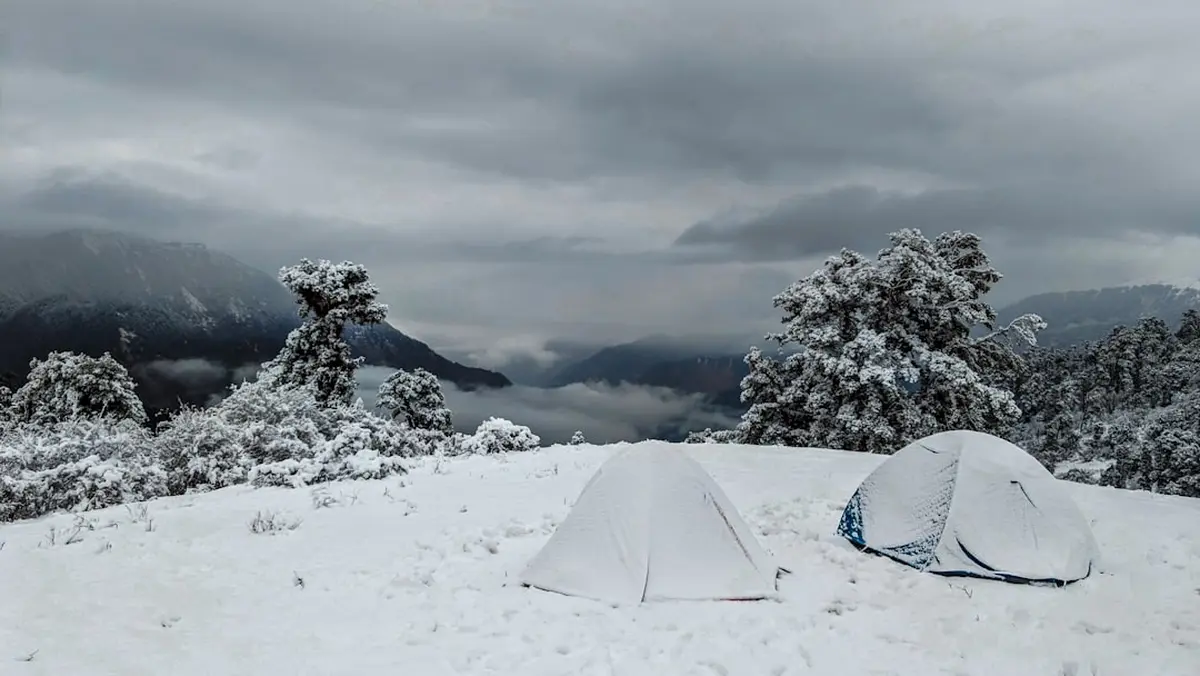
When temperatures plummet and you're stranded in winter wilderness, knowing how to build an emergency snow shelter can mean the difference between life and death. Snow is an excellent insulator—a properly constructed shelter can maintain interior temperatures around 32°F (0°C) even when outside temperatures drop to -40°F.
In this guide, you'll learn how to construct two reliable emergency snow shelters: a quinzee (a mounded snow shelter) and a snow trench (a faster alternative). Total construction time ranges from 1-3 hours depending on conditions and your chosen method.
Prerequisites
Before you begin construction, ensure you have the following tools and conditions in place. Working without proper preparation wastes energy and body heat—resources you cannot afford to lose in a survival situation.
-
Snow depth of at least 2-3 feet
Packed or wind-blown snow works best. Fresh powder requires more piling and settling time.
-
Digging tool
A shovel is ideal, but a pot, snowshoe, flat piece of wood, or even your hands can work in emergencies.
-
Waterproof ground insulation
Pine boughs, a sleeping pad, backpack, or extra clothing to prevent heat loss to the ground.
-
Dry clothing layer
You will sweat during construction. Have dry base layers to change into afterward.
-
Ventilation tool
A stick or trekking pole to create and maintain air holes.
Step-by-Step Instructions
Option 1: The Quinzee (2-3 hours)
A quinzee is more comfortable and warmer than a trench but requires more time and energy to build.
-
Pile snow into a mound 7-8 feet wide and 4-5 feet high
Mix snow from different layers to promote sintering (bonding). The mound should be large enough for your body plus gear.
-
Insert guide sticks 12 inches deep around the mound
These prevent you from digging walls too thin. Space them evenly around the dome.
-
Wait 1-2 hours for the snow to sinter
This is critical. Use this time to gather insulation materials and rest. Skipping this step causes collapse.
-
Dig entrance on the downwind side
Create a tunnel entrance lower than the sleeping platform. Cold air sinks, so this keeps warm air trapped inside.
-
Hollow out the interior
Work carefully, stopping when you hit the guide sticks. Create a domed ceiling to prevent dripping.
-
Create a ventilation hole at the top
Poke a fist-sized hole through the roof. This prevents carbon dioxide buildup and is essential for survival.
-
Add ground insulation and smooth the ceiling
A smooth dome prevents drip points. Layer the floor with pine boughs or gear.
Option 2: The Snow Trench (30-60 minutes)
When time and energy are limited, a snow trench provides emergency protection faster.
-
Dig a trench slightly longer than your body, 3 feet wide, 3 feet deep
Orient the trench perpendicular to the wind direction.
-
Carve snow blocks from the excavated snow
Cut blocks approximately 12 inches thick to span the trench as a roof.
-
Lay blocks across the trench to form a roof
Angle them slightly to create a peaked roof that sheds snow.
-
Fill gaps with loose snow
Pack snow into cracks between blocks for insulation and wind protection.
-
Create ventilation and insulate the floor
Poke a vent hole and add ground insulation before settling in.
Troubleshooting
Conclusion
Building an emergency snow shelter is a core winter survival skill that requires practice before you need it. The quinzee offers superior comfort and warmth for longer stays, while the snow trench provides rapid protection when time is critical.
Key takeaways: - Never skip the sintering period for a quinzee - Always maintain ventilation—this is non-negotiable - Keep the entrance lower than your sleeping platform - Change out of wet clothes immediately after construction
Practice building these shelters in controlled conditions before your next backcountry winter trip. The confidence and muscle memory you develop could save your life when conditions turn dangerous.
Comments
No comments yet. Be the first to comment!
Leave a Comment